Skip to content
Menu
Science News Learning
Incorporate STEM journalism in your classroom
Lesson plans
All guides
Search lesson plans
• Data Analysis
• Diversity in STEM
• Literacy Practices
• Research & Design
• Graph of the Week
Program info
Sign up
About
Testimonials
Community
Webinars
Journalism
Science News
Science News Explores
• Explainers
• Word of the Week
• Analyze This
• Technically Fiction
• Cool Jobs
• STEM Comics
Donate
SIGN IN
Science News Learning
Incorporate STEM journalism in your classroom
SIGN IN
Search
Open search
Close search
Incorporate STEM journalism in your classroom
Exercise type:
Activity
Topic:
Physics
Category:
Research & Design
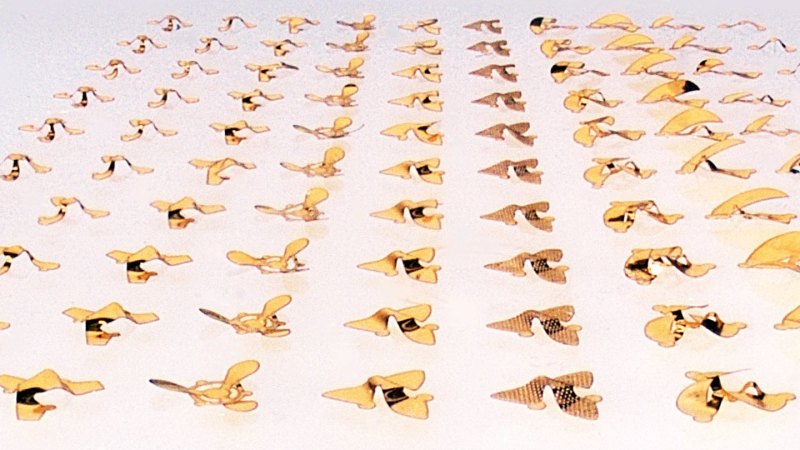
The physics of flying seeds
This exercise is a part of Educator Guide: Featured Activities /
View Guide
Download Student Worksheet
Download Teacher Background Sheet
Scientists created minuscule “microfliers” in a variety of shapes (shown) that glide through the air...